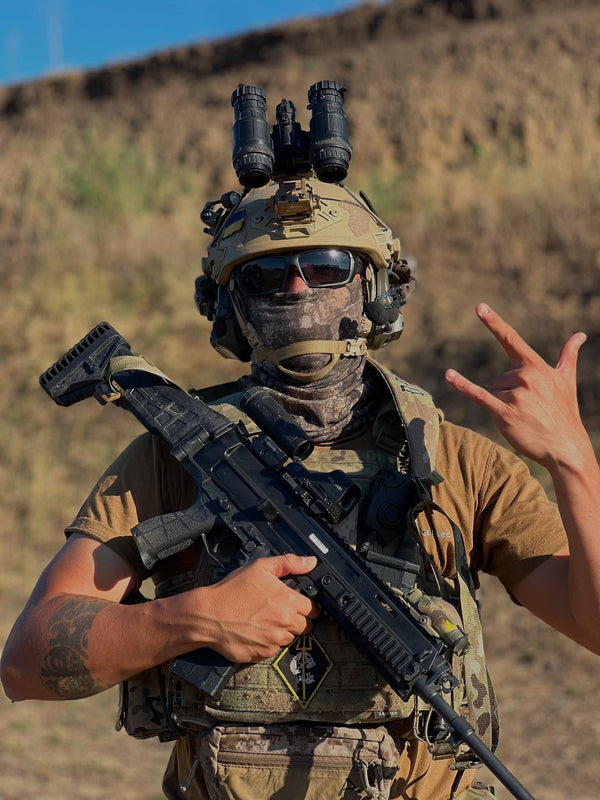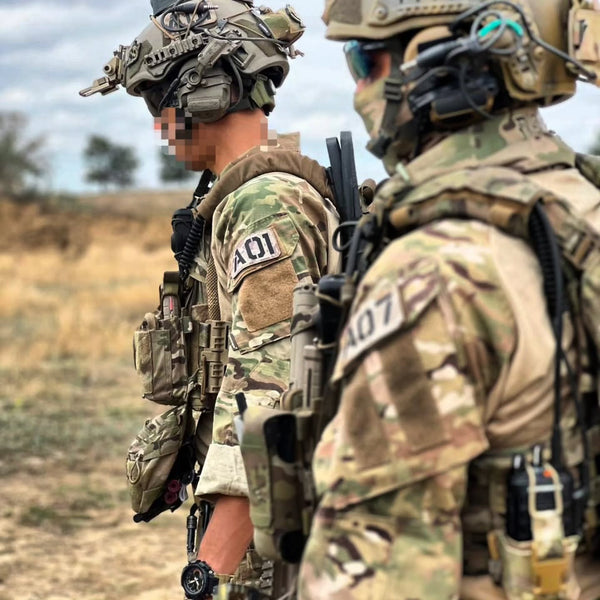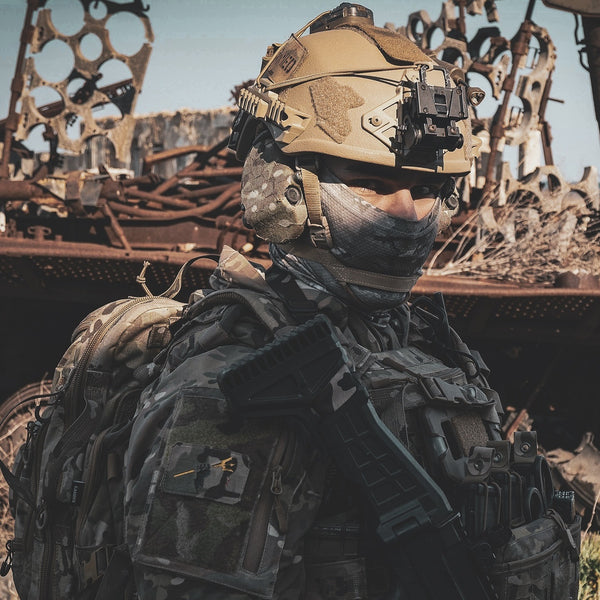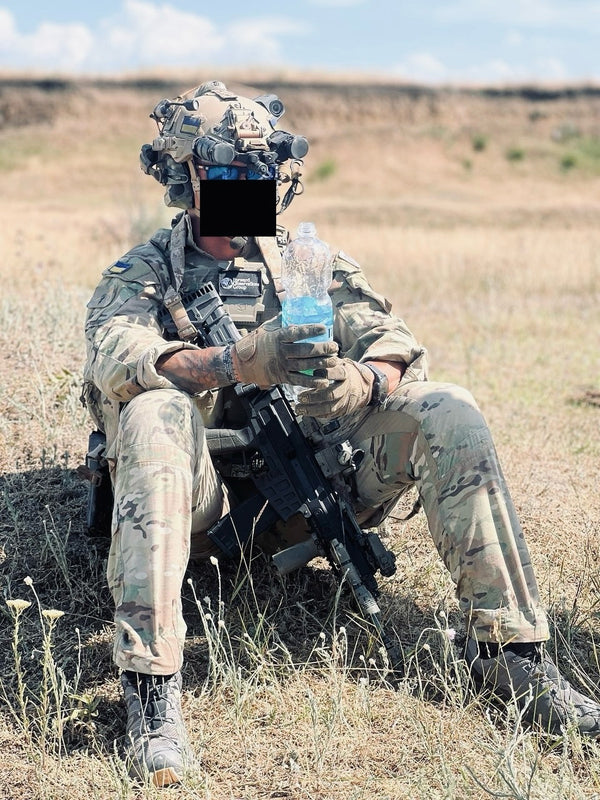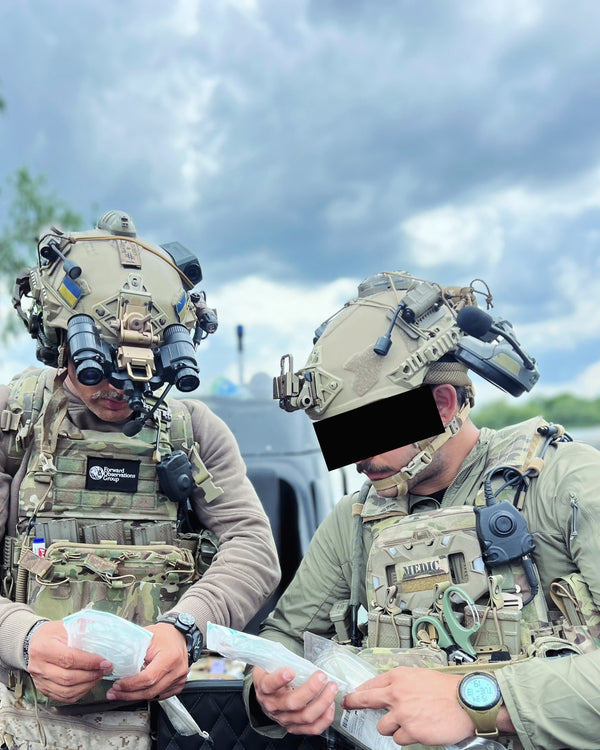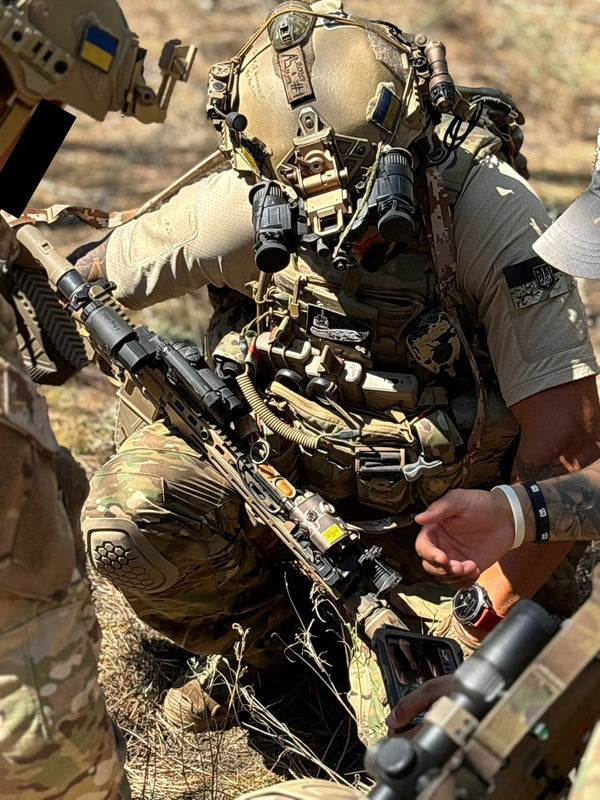

A ballistic helmet is a head-protection system designed and tested to reduce specified ballistic, fragmentation, and impact risks. Modern helmets combine a ballistic shell, impact-attenuating pads or liner, a retention system, and accessory interfaces. To understand how to choose the right ballistic helmet, first define its intended use and relevant threat; then assess coverage, size and fit, equipment compatibility, configured weight and balance, and test the complete setup.
Step 1: Define the use case and threat
Start by recording five inputs:
-
Protection category: ballistic or non-ballistic.
-
Relevant threat.
-
Intended use: patrol, tactical entry, vehicle, maritime, training, or another application.
-
Expected wear duration and environment.
-
Required headset, NVG, eye protection, and any other head-borne equipment.
This information keeps the selection focused on requirements before models, materials, cuts, or packages enter the comparison. If the task requires impact protection without ballistic protection, a bump helmet may be appropriate. Review ballistic vs tactical helmet differences. When ballistic protection is required, shortlist only documented configurations tested for the relevant threat. An IIIA label alone does not establish rifle protection. Rifle threats require systems specifically tested against them. Review how ballistic helmet ratings and test results work before comparing claims. Finish Step 1 with a brief covering use, threat, wear duration, environment, and equipment.
Step 2: Choose the helmet cut and coverage
When comparing high-cut vs mid-cut vs full-cut helmets, focus on the trade-off between coverage and equipment clearance. A higher cut removes more shell around the ears. The term describes shell geometry. Helmet size and protection level are separate characteristics.
|
Cut |
Choose when |
What you gain |
What you give up |
|
High-cut (largest cut) |
A headset needs maximum ear-cup and adapter clearance. |
Easier headset integration. |
Less side and ear-area coverage than a lower cut in the same helmet family. |
|
Mid-cut |
A headset is required while retaining more coverage than high-cut provides. |
A middle ground between coverage and clearance. |
Less clearance than high-cut and less coverage than full-cut. |
|
Full-cut (smallest cut) |
Coverage has priority. No headset is planned, or a compatible headset fits under the shell. |
The most coverage within the same helmet family. |
Less room for ear cups and some rail adapters. |
Cut names and shell geometries vary across manufacturers. Test the planned headset. Confirm that ear cups sit correctly, adapters align with the rails, and retention straps remain clear. See the FAST, MICH, and PASGT helmet comparison for architecture-specific differences. Finish with cuts that meet both coverage and equipment requirements.
Step 3: Select the size and check the fit
How should a ballistic helmet fit?
Choose the model before size when buying online because sizing varies. For accurate ballistic helmet sizing:
-
Check the sizes on the product page.
-
Wrap a measuring tape level around the widest part of your head as shown in the seller’s diagram. Keep it snug without compressing skin.
-
Measure at least twice. If the readings differ, measure again and record the largest consistent result in centimeters.
-
Compare it with the Blender Tactical helmet sizing chart. Confirm that its range applies to the selected model and variant.
-
If the result is on a size boundary, contact the store before ordering with the model and head circumference. Familiar clothing or helmet sizes are unreliable.
After delivery, place the helmet level and adjust the pads and retention system. It should remain stable when you turn your head and look up and down. The fit is unsuitable if it requires excessive strap tension, creates persistent pressure points, obstructs vision, or leaves large gaps. Pads can fine-tune a suitable shell. They cannot correct the wrong shell size.
Finish with a confirmed model and shell size, followed by a verified pad configuration and retention adjustment after delivery.
Step 4: Check equipment compatibility
Before ordering, verify each device’s connection chain. Attachment does not confirm functional compatibility.
-
Headset and adapters: Identify the headset, rail system, and adapter model. For communications, verify the headset connector → push-to-talk (PTT) unit → radio chain. Check ear-cup clearance and retention-strap interference. See our tactical active headphones guide for headset selection.
-
NVG system: Trace the interface from helmet shroud to mount, arm or bridge, and NVG device. Confirm the mount-to-device interface, adjustment range, clearance, and required secondary retention. Ensure the device can be installed and removed without obstructing other equipment.
-
Rails and devices: Verify the exact rail system, mounting position, required adapter, and hardware. Confirm that a light, camera, eye protection, or goggles will not block adjacent mounts or conflict with the shell and straps.
-
Power and cables: Match the power source, connector, and cable length. Choose an accessible battery-pack location and route cables clear of pinch points, release hardware, and mounts.
For ballistic helmet accessory compatibility, use manufacturer-approved interfaces. Never drill the ballistic shell or add improvised hardware. Finish with a compatibility map listing each device model, interface, mount or adapter, helmet interface, connector, and power requirement.
Step 5: Evaluate weight, balance, and cover fit
Total system weight and balance
Evaluate ballistic helmet weight and balance for the configured system, not the bare helmet. Check what published weight includes. Add components excluded from that figure: rails, adapters, shroud, headset, light, NVG, batteries, cover, and counterweight. Record mass at the front, rear, and sides; equal totals can produce different centers of mass. Weight alone does not establish protection. Assess documented performance separately, then determine whether mass and balance suit wear duration and activity, while climate informs ventilation and thermal comfort. An NVG counterweight can improve front-to-back balance but adds mass; use only what the setup requires.
Choose a cover for the exact shell
When deciding how to choose a helmet cover, match ballistic helmet covers to the exact model, cut, and shell geometry—not size alone. Verify rail and shroud cutouts, attachment method, battery or counterweight pockets, cable openings, drainage, airflow, mounted-device access, and attachment points for IR tabs, patches, or accessory loops. The cover should hug the shell without shifting or obstructing equipment. It can support camouflage, identification, cable management, and protection from abrasion and UV exposure, but it does not change the ballistic rating. If you are comparing an HHV helmet cover, verify the exact Hard Head Veterans helmet model and shell geometry rather than relying on size alone.
Step 6: Test the complete helmet setup after delivery
Online selection cannot confirm final fit. After delivery, inspect the shell, liner, retention system, rails, and shroud for damage or missing parts. Following the manufacturer’s instructions, assemble the helmet with the headset, NVG, eye protection, and other required equipment before use. Treat this stage of the ballistic helmet fitting guide as a pass/fail test:
-
The helmet remains stable during normal head movement.
-
The setup creates no persistent pressure points.
-
The shell, straps, headset, eye protection, NVG, and mounted devices do not interfere.
-
Weight and balance remain acceptable during a representative wear period.
-
Batteries, mounts, cables, controls, and components requiring routine access remain accessible.
Practice installing, removing, and operating required accessories. If any check fails, adjust or replace the relevant component and repeat the test before accepting the setup.
With your required size and configuration defined, browse selected BlenderTac options available in your size. Use these listings as a shortlist, then compare the size chart, documented protection, included components, and interfaces for each exact configuration before choosing the one that matches your requirements.

Keep a copy of the size chart and product specification used at the time of order. It creates a reliable reference for checking the delivered helmet and prevents later accessory decisions from relying on memory or a changed listing.